How to Add /Scan New Business Card?
Follow these simple Steps:
- Click Add New, followed by click Scan.
- Choose option Scan Business Card or Attach .jpg /.png
How to scan business card?
- Take a photo of your business card in portrait mode without any shake with clear focus.
- Resize the image and click ok.
- eeZ Digital Cards app will process the image and prompt you with message whether you want scan back side of the business card, if yes click Yes else click No.
The processed Data then will be populated in Add Contact Form.
How to edit the contacts for Errors?
You can delete the contact details in 2 ways
Option 1:
- After scanning and before saving the contacts i.e. is there is any simple errors due Business card then you can edit immediately after processing when the data is shown in Add Contact Screen.
- If the values are swapped then click edit icon (Pen) in Add Contact screen it will show all the processed raw values in a Pop up screen from here you choose the values for the respective fields.
Note: App allows selection of multiple values from from the pop-up. Even you can order the field values by hard pressing the selected values in pop up and move up or down. Selected values will populated in the chosen field in the same order.
Option 2:
You can edit whenever you wanted to edit the values.
Go to home screen, under the listing by company i.e under this option Business Card will be displayed as Display Profile.
- Click edit icon of the company, it show screens to Edit Company Information and the list of contacts saved under the same company.
- If you want edit Company Information then click Company Tab and update the details.
- If you would like to Edit Contact information click the Edit icon of the contact that you want to edit and update the information.
How to change order of Viewing?
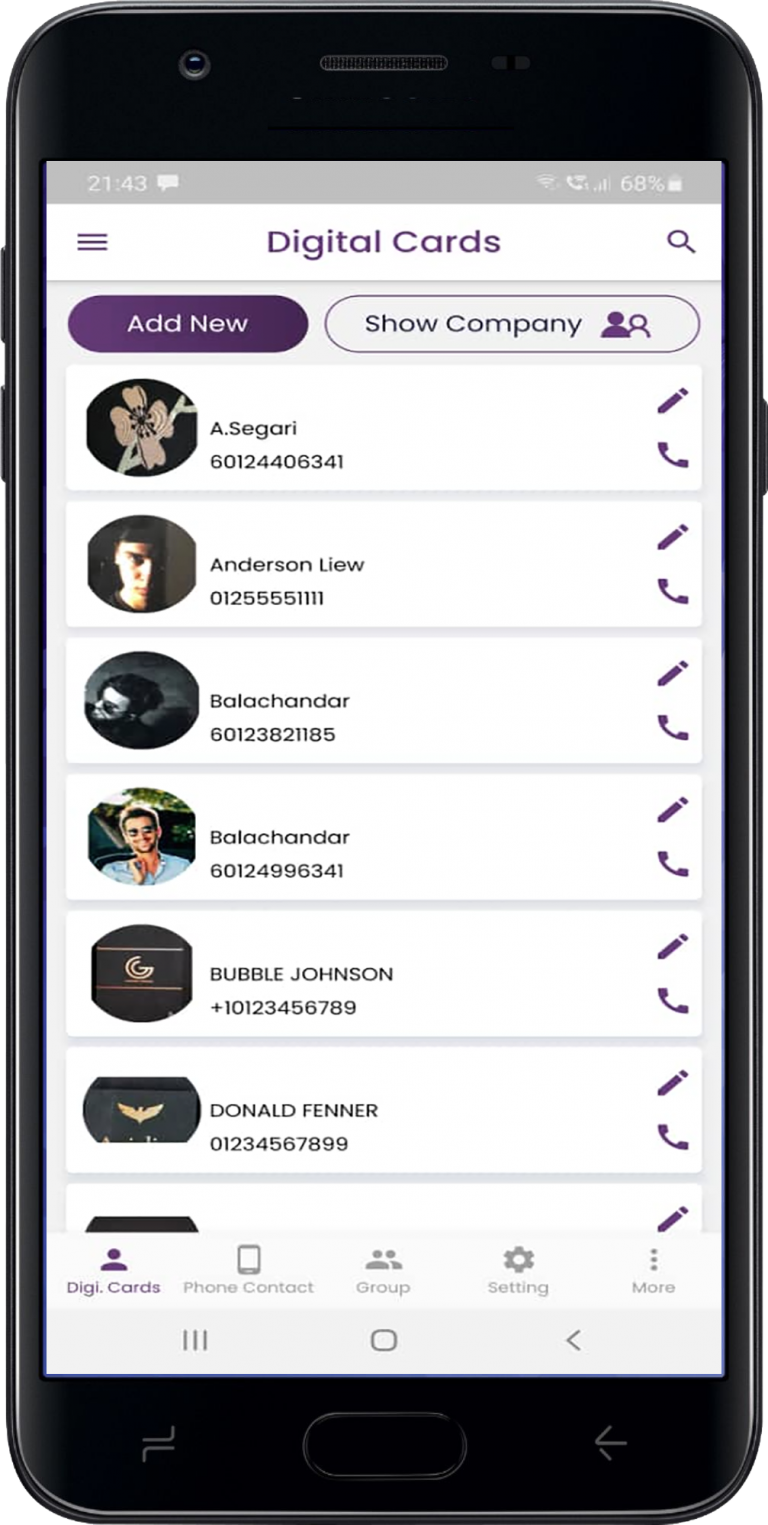
Home Screen (Digi. Cards) will show all the contacts of scanned by app in a order and group by company and name in alphabetical order.
Click the “Show Name” Button to change order to show all the contacts in alphabetical order.
When contacts are displayed in alphabetical order click “Show Company” to change the order and show the list by Company name in alphabetical order.
You can delete the contact add by you using Digital Card Scan or Attach and Manually created contact, Group Participants etc.,
Note: If you have more contacts you can search by clicking the search icon at top left corner of the screen and type the name you want search.
How to edit Phone contact?
Sorry, you cannot edit the Phone Contacts directly from “Phone Contact” Screen. But Edit contact from Phone Contacts.
How to delete my contact?
You can delete the contact add by you using Digital Card Scan or Attach and Manually created contact, Group Participants etc.,
Follow these simple Steps:
- Select contact that you want delete.
- Hard press and swipe to your left side, this will prompt you confirm whether you really want to delete? click Yes to delete and No to ignore your action.
Note: If you do the same for contacts listed under company then all the contacts saved and available under that company will get deleted.
Frequently Asked Questions
See the Premium Version section under more tabs in the bottom navigation in the App.
For more details please check under Pricing Plan here…
You can continue to use until you reach your scanning limit and there is no expiry period set.
We are sorry this option is available only for Premium membership
This is an unique and very useful feature, once you have logged with your email and password in your new device all scanned business card details and groups will start to automatically in your new phone.
Cloud Sync feature is only available for Premium Members.
Subscribe for premium version either monthly auto renewable or yearly.
Yes, you can cancel your subscription.
Once you have cancelled subscription premium features will be available to you until end the of the subscription period.
Cloud Sync option is restricted to sync only those contacts created using the eeZ Digital Cards. However this feature may be included in our planned enhancements.